Starting a Native Perennial and Wildflower Pollinator Garden
We have an area just off the driveway that is such a steep slope that it’s not safe to mow. The original owners had creeping junipers here. The creeping juniper had areas of wild blackberries and various trees (cedar, tulip poplar, hawthorn, and the loathed tree of heaven) taking root. It was obvious that many of these unwanted plants had been cut down in years past only to sprout new shoots. We neglected this area and it quickly became full of unwanted weeds. With this area being so close to the house, it’s imperative for us to beautify it. We need this area to be a no-mow zone and what better way than to make it a pollinator garden? To see where on the property our Native Perennial and Wildflower Pollinator Garden will be, check out our farm plans.
The Problem Area:


Native Perennial and Wildflower Pollinator Garden: The Vision
What became clear to us was this area needed some help to once again become a no-mow area. We had originally intended to make it a wildflower garden, but then were invited to participate in a native perennial pollinator garden funded by the NRCS through the ARCD. While we hope to receive enough plants for a 10×15 garden, the area that needs to be a no-mow zone is at least 3 times that size.
To help fill in the space, we have received additional native perennial seeds from a seed swap group. These seeds have been winter sown and will hopefully be ready to plant in the spring. Furthermore, we have a bag of wildflower seeds from when we met The Stivers at the Appalachian Fair this past summer. From these three sources, we expect to have sufficient plants and seeds to fill the area. We will develop a garden map in the next few weeks to help us plan the layout of the plants.
Preparing The Space: Using the No Till Lasagna Method
The project from this past week was prepping the space. When the lasagna method is done over grass, the first step would be to mow the lawn as short as possible. Since we couldn’t mow this area, we spent several afternoons cutting most of the creeping juniper and all of the unwanted plants by hand. Notice the piles of juniper above and below the garden space.

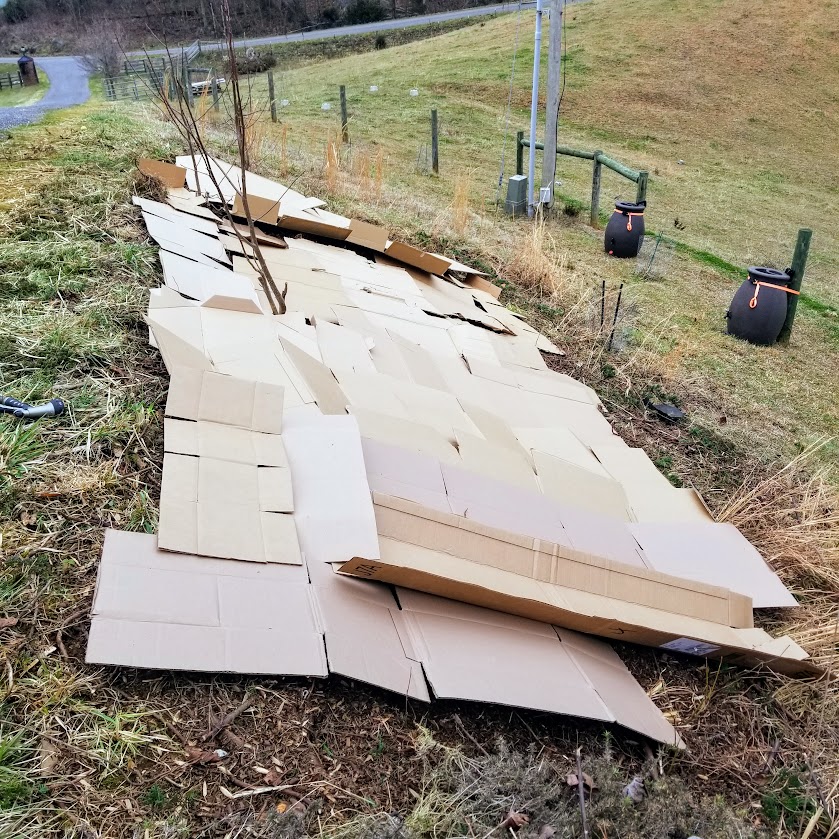
Then, we covered the area with cardboard and wetted it down to begin the decomposition process. Last, we covered the cardboard with yard waste as best we could in the time we had. We were working hard to get to this point before we had another bout of snow. We will put more layers on here and continue to expand the area as the weather permits.


Warning: Juniper is an Allergen
As a side note, I learned the hard way that juniper can cause an allergic reaction (contact dermatitis). The rash itches and burns and can lead to blistered skin. I had a severe case on my forearms after spending the week elbow-deep in juniper. I will make sure my skin does not EVER come in contact with juniper in the future. It was suggested I post pictures of my contact dermatitis to go along with this warning, but as James is so lovingly requesting I keep my arms covered, I am sure that those that are truly interested can do their own image search and I will save the rest of you from having to see the gruesomeness.
